
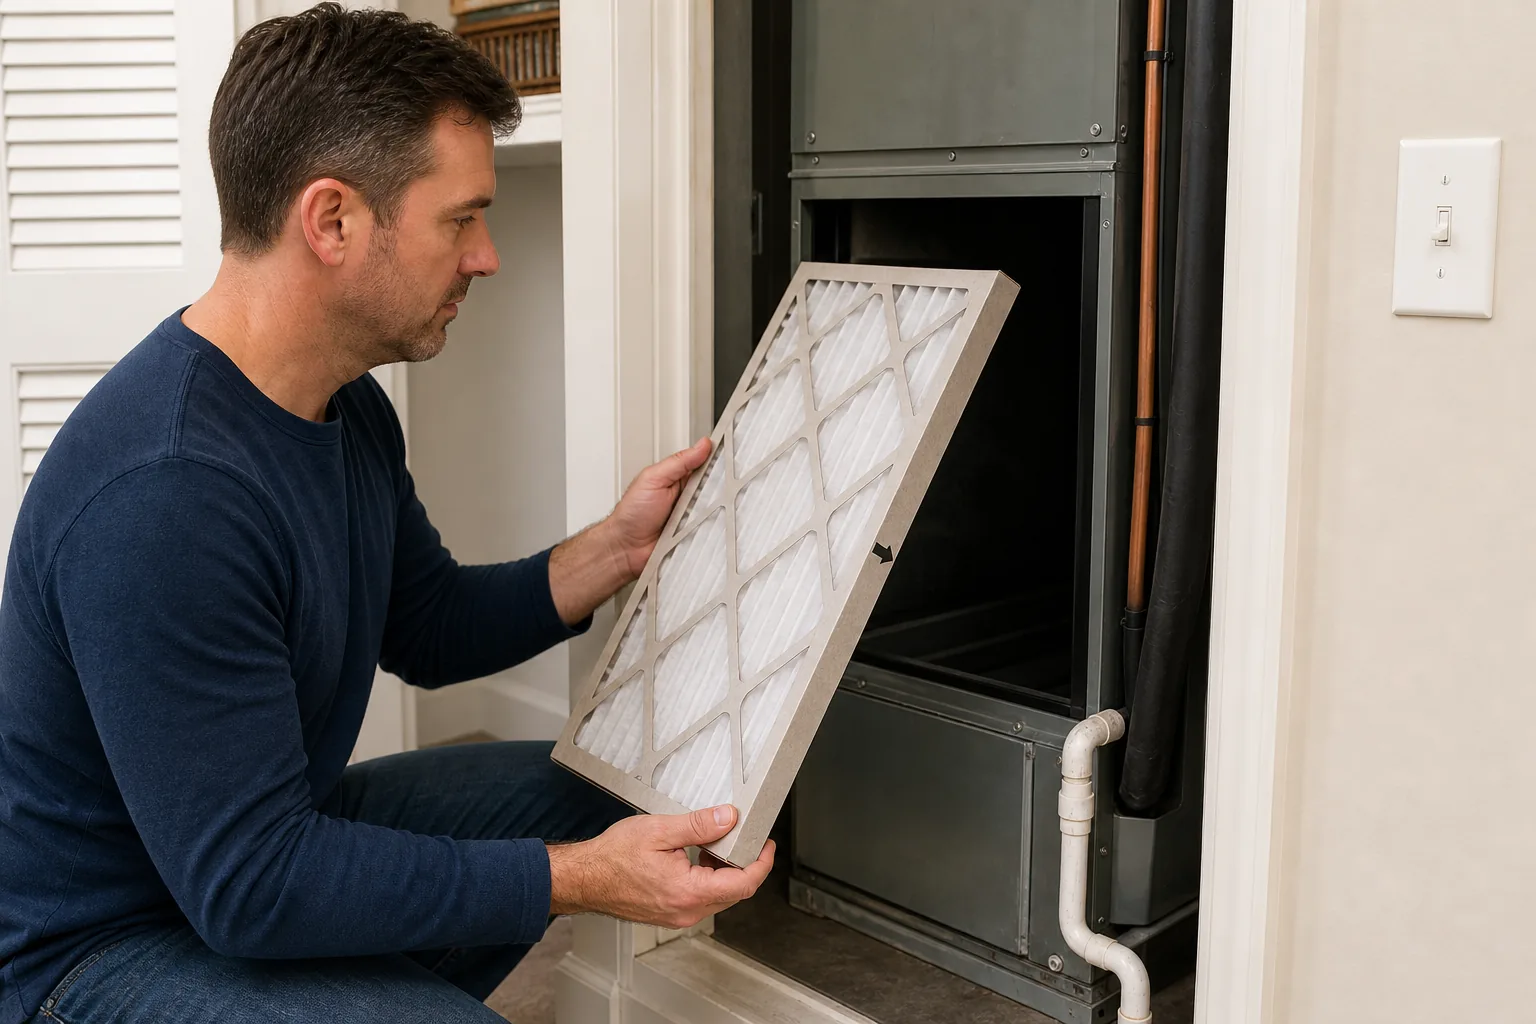
Replacing an HVAC filter is simple only when the filter location is safely accessible and the replacement matches the system. The correct choice is not automatically the thickest filter or highest rating on the shelf. Size, resistance, filtration efficiency, cabinet design, and manufacturer instructions must work together.
Find every filter location
A filter may be in a rack beside the furnace or air handler, inside a dedicated cabinet, or behind a return-air grille. Some homes have more than one return filter or more than one HVAC system. Check the equipment documentation, prior service records, and visible return grilles instead of assuming that the first filter you see is the only one.
If accessing the filter requires removing an equipment service panel rather than opening a purpose-built filter door or return grille, stop and use the manufacturer’s instructions or a qualified technician.
Record the exact size before buying
Read the dimensions printed on the existing filter frame and compare them with the equipment or filter-cabinet documentation. Carrier’s current homeowner guidance recommends noting the printed dimensions or measuring the old filter before discarding it. A loose filter can allow bypass; an oversized filter can buckle or damage the rack. Do not stack filters unless the system was designed and documented for that arrangement.
Use a compatible filtration rating
MERV is a standard way to compare filter efficiency, but a higher rating can also change airflow resistance depending on the product and system. ENERGY STAR consumer guidance advises using at least MERV 8 when the equipment manufacturer allows it, or the highest rating the manufacturer permits. Carrier likewise advises that the appropriate rating depends on the environment and furnace and recommends consulting the dealer or installer.
Household health needs, pets, smoke, renovation dust, system design, and the filter’s tested pressure drop can affect the decision. Do not use a high-efficiency filter as a substitute for source control, ventilation, duct repair, or professional indoor-air-quality evaluation.
Point the airflow arrow toward the equipment
- With power off, photograph the old filter in place and note the direction of its arrow.
- Remove it gently so accumulated dust stays on the filter.
- Clean only the accessible filter door or grille with the method allowed by the manufacturer; do not vacuum inside electrical or mechanical compartments.
- Insert the new filter with its airflow arrow pointing toward the blower or indoor unit—away from the return-air room or duct.
- Close and secure the dedicated filter access, restore power, and verify that the system starts normally.
Set an inspection schedule based on conditions
Follow the filter and equipment manufacturers’ stated interval, then inspect more often during renovation, heavy pollen, wildfire smoke, high occupancy, pet shedding, or unusually long heating and cooling cycles. Write the installation date in your maintenance record. A filter that loads rapidly can indicate unusual dust, duct leakage, construction activity, moisture, or an airflow issue that deserves investigation.
Call for service when the symptom is not the filter
Arrange qualified service for a filter that collapses or is pulled out of shape, frost or water near the equipment, persistent dust bypass, weak airflow, repeated limit trips, unusual noise, hot electrical odor, a filter slot with large gaps, or comfort problems that continue after a compatible clean filter is installed. A filter change cannot diagnose refrigerant, blower, duct, combustion, controls, drainage, or sizing problems.
Build a practical home-systems maintenance plan
HHM can review equipment photos, filter locations, comfort symptoms, maintenance history, and planned improvements to coordinate the appropriate HVAC or whole-home project path.
Sources checked August 23, 2026
- Carrier: How to Perform Air Filter Replacement — power-off sequence, filter locations, dimensions, airflow direction, and manufacturer-instruction boundary.
- Carrier Residential HVAC FAQs — filter location, printed size, and system-dependent MERV selection.
- ENERGY STAR: Everyone Deserves a Safe and Healthy Home — filter-maintenance and manufacturer-allowed MERV guidance.
- North Carolina Office of State Fire Marshal: Codes — Current and Past and South Carolina Building Codes Council: Building Code Adoption — official references if work expands beyond routine maintenance.