
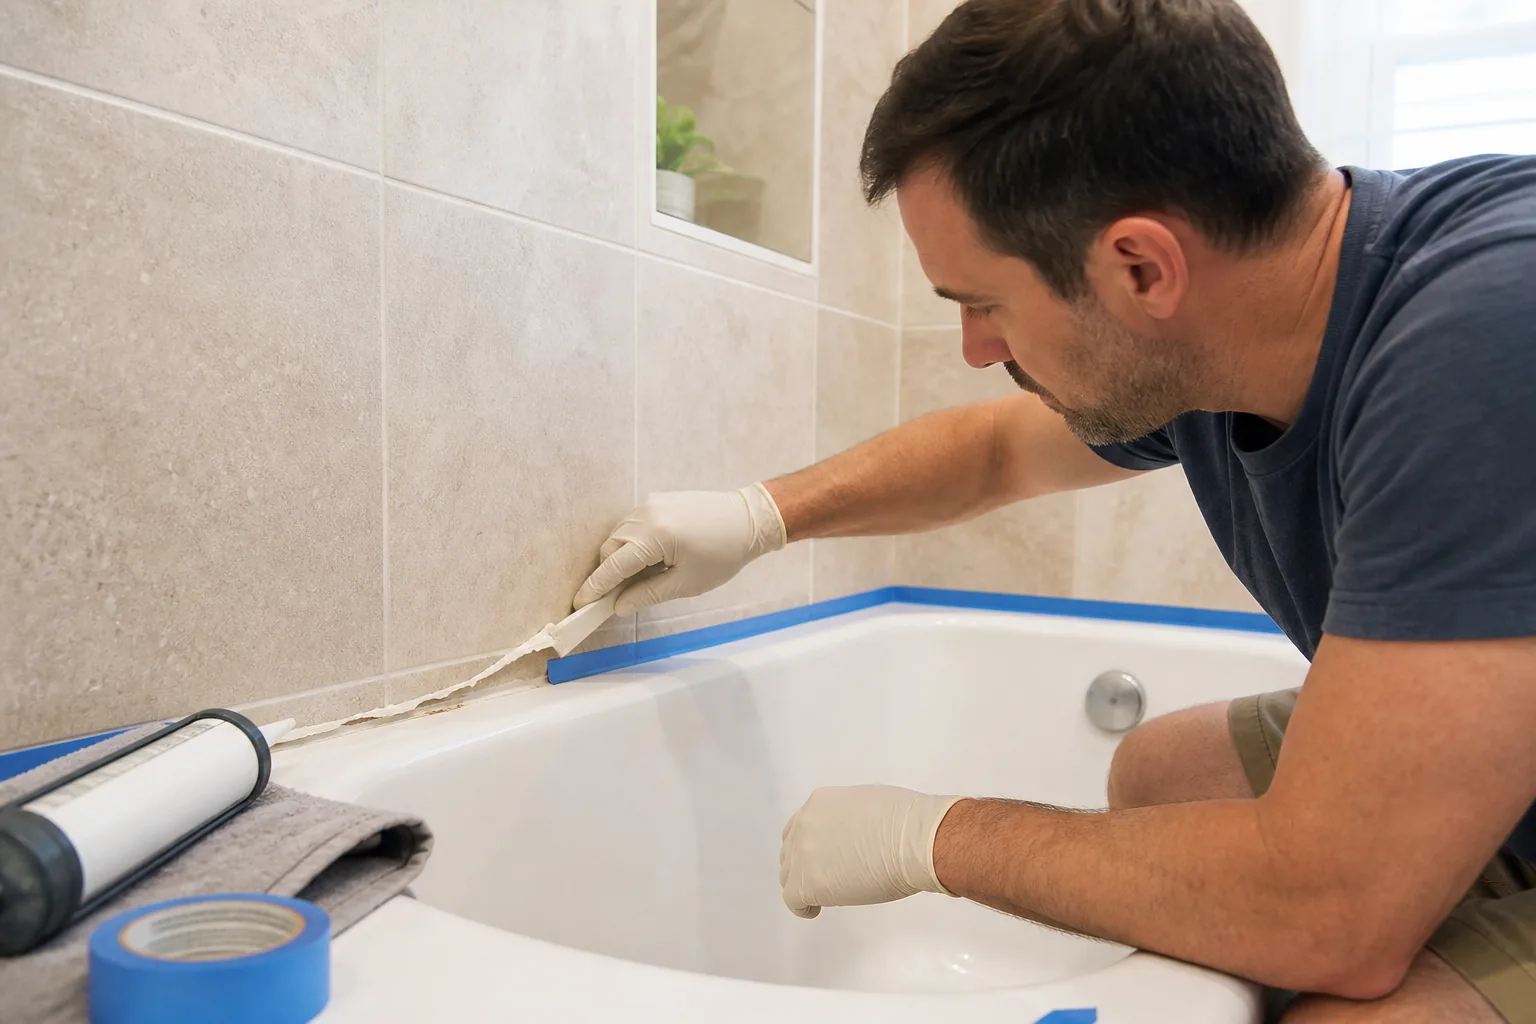
Caulk at a tub, shower base, or wall transition is a visible maintenance joint. Replacing a bead that has pulled away or become permanently stained can be a reasonable DIY project—but new sealant cannot repair a loose surround, failed waterproofing, concealed decay, or continuing structural movement.
Choose a product for the exact surfaces and exposure
Use a kitchen-and-bath sealant whose current label lists both adjoining materials and the intended wet-area exposure. Product chemistry, adhesion, flexibility, mold resistance, paintability, joint-size limits, application temperature, cleanup, and water-ready time vary. The instructions on the exact cartridge or tube control the work; a generic online cure time does not.
Remove the old bead completely
Keep the area dry. Use a plastic caulk-removal tool or a carefully controlled scraper that will not damage the tub, tile, fiberglass, stone, or finish. Loosen an edge and pull the bead in strips where possible. A compatible caulk remover may help, but only after confirming it is approved for the surfaces and following its label, dwell time, ventilation, and cleanup instructions.
Do not drive a blade behind the finish or into a concealed membrane. The goal is to remove the surface bead and residue without cutting the waterproofing or scratching the fixture.
Clean, rinse, and let the joint dry
Remove soap film and residue using methods compatible with the surfaces and new sealant. DAP’s current shower-recaulking instructions call for removing remaining residue and wiping the prepared surface with isopropyl alcohol. If a cleaning or mold-control product is used, follow its label, rinse when directed, and allow the joint to dry fully before sealing.
A joint that continues to weep after normal drying may be receiving water from behind the surface. Do not trap that moisture with a new bead; investigate the source.
Apply one controlled bead
- Mask both sides if painter’s tape is compatible with the finish and will help establish a clean line.
- Cut the nozzle only as large as needed for the joint and puncture the inner seal if the product requires it.
- Apply a continuous bead that contacts both sides of the prepared joint without excessive buildup.
- Tool the bead immediately using the method permitted by the product instructions.
- Remove painter’s tape before the sealant skins, following the product guidance.
- Keep the joint dry for the full water-ready or cure period printed on the exact product.
Do not add a thin layer over old caulk. The new material needs a clean, sound, compatible joint to adhere as intended.
Verify the repair instead of forgetting it
After the required cure period, use the tub or shower normally and inspect the bead, adjacent finishes, room below, and accessible backside if available. Watch for separation, trapped moisture, staining, movement, or recurring odor. A failed bead may be the symptom rather than the cause.
When the project is larger than caulk
Loose finishes, repeated joint failure, damaged backer, poor drainage, missing movement accommodation, or leakage outside the enclosure can require a qualified enclosure, plumbing, tile, or remodeling evaluation. Permit and code requirements depend on the address and the actual scope; simple surface maintenance does not establish permission for a larger demolition or wet-area reconstruction.
Plan a bathroom repair that addresses the cause
Send HHM wide and close photos, the project address, the age of the installation, where moisture appears, and whether the joint moves. HHM can organize the next inspection or bathroom-improvement scope without treating a photo as a concealed-waterproofing diagnosis.
Sources checked August 23, 2026
- DAP: How to Re-Caulk a Shower — removal, residue cleaning, surface preparation, taping, application, and tooling sequence.
- DAP: How to Choose the Right Caulk or Sealant — matching the product to moisture, movement, substrates, and project conditions.
- U.S. EPA: Mold Cleanup in Your Home — moisture-source correction and professional-help considerations for larger affected areas or water damage.
- North Carolina Office of State Fire Marshal: Codes — Current and Past and South Carolina Building Codes Council: Building Code Adoption — official references if work expands into reconstruction.