
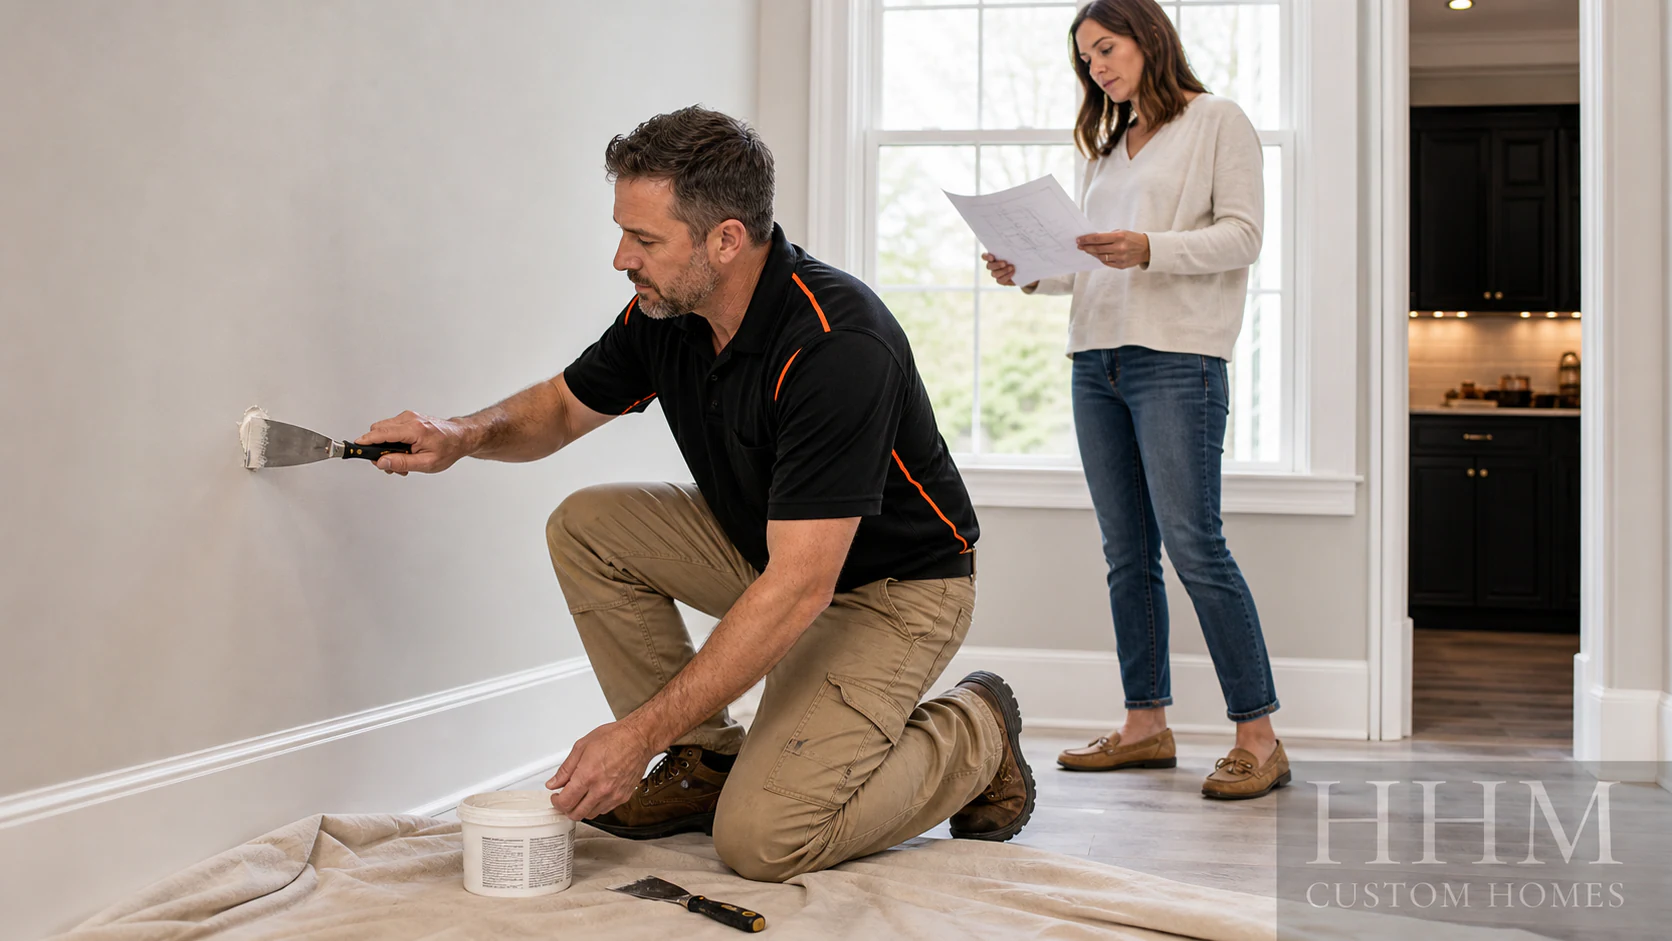
Small drywall holes are among the most approachable home repairs. Nail holes, anchor holes, and minor dents can usually be fixed with basic materials and patience. The secret is not applying more compound—it is using thin coats, allowing them to dry, and feathering the repair beyond the damaged area.
Before starting, determine what caused the damage. A simple picture-hook hole is one thing; a soft, stained, bulging, or recurring damaged area may indicate a plumbing, roof, or moisture problem that should be corrected first. If plumbing may be involved, begin with the companion guide to finding the source of a faucet leak.
Check for lead and hidden hazards before creating dust
Before sanding, scraping, drilling, or cutting a painted wall, determine the home’s age. If it was built before 1978—or its age or paint history is unknown—do not follow ordinary sanding or surface-preparation instructions until the affected coating has been properly evaluated and a lead-safe work approach has been selected. EPA recommends professional lead evaluation and recommends that homeowners use Lead-Safe Certified contractors for renovation, repair, and painting work in pre-1978 homes.
Older textured coatings, joint compounds, and other wall systems may also contain asbestos or other hazardous material. Do not sand, scrape, or cut suspect material until the risk has been evaluated. Stop if the wall is damp, soft, moldy, unusually stained, warm, buzzing, or associated with an odor. Do not probe through an opening or insert fasteners until concealed electrical, plumbing, gas, or other systems have been considered.
Choose the repair method by hole size
Different types of damage need different support:
- Nail holes and shallow dents: lightweight spackle or joint compound is usually enough.
- Small anchor holes: remove loose paper and fill in two or more thin applications.
- Holes up to a few inches wide: use a self-adhesive mesh patch or another drywall patch made for the opening size.
- Larger holes, damaged seams, or soft drywall: these often require backing, a fitted drywall piece, tape, and broader finishing. Consider professional help if framing, wiring, plumbing, mold, or extensive moisture is involved.
Materials and tools
- Spackle or all-purpose joint compound
- A flexible putty knife and a wider finishing knife
- Fine-grit sanding sponge
- Drywall patch sized for the damage, if needed
- Primer and matching wall paint
- Clean cloth, drop cloth, and dust protection
Joint compound is easier to feather over a broad area, while lightweight spackle is convenient for very small cosmetic repairs. Product directions vary, so follow the specified drying time and recommended thickness.
Step 1: prepare the damaged area
Move furniture away and protect the floor. Remove the nail, screw, or wall anchor if it will not be reused. Carefully trim only loose, raised paper with a sharp utility knife. Do not enlarge the hole unnecessarily.
Wipe away dust. If the drywall paper is torn and fuzzy, seal it with an appropriate problem-surface primer before applying water-based compound; otherwise, the paper can swell or bubble. Allow primer to dry as directed.
Step 2: fill a tiny hole or dent
Press a small amount of spackle or compound firmly across the opening. Draw the putty knife over the repair from more than one direction so material fills the void. Scrape away the excess, leaving the first coat nearly level with the wall.
Do not leave a large mound expecting to sand it flat later. A thin application dries more evenly and creates less dust. Deep anchor holes may shrink slightly and need a second coat.
Step 3: patch a wider opening
For a hole suitable for a mesh repair, make sure the surrounding wall is clean, sound, and dry. Center the patch over the opening and press it flat. Apply joint compound over the mesh with a wide knife, extending beyond the patch edges. The first coat should cover and secure the mesh without creating a thick hump.
After the coat dries completely, apply a wider, thinner coat. Feather the outer edges by pressing slightly harder on the outside edge of the knife. A third skim coat may be needed to make the transition disappear under side lighting.
Step 4: sand lightly
When the compound is fully dry, use a fine sanding sponge with light pressure. Focus on ridges and edges rather than aggressively sanding the center. Run your hand across the repair and shine a work light along the wall; low-angle light reveals ridges that normal room lighting can hide.
Use a properly maintained HEPA vacuum designed for the identified hazard and an appropriate soft attachment, or another cleanup method specified for the product and identified hazard, without soaking the compound. If you expose the patch or create a hollow, apply another thin skim coat instead of continuing to sand.
Step 5: prime before painting
Fresh joint compound absorbs paint differently from the surrounding wall. Spot-prime the entire repair and feather the primer slightly beyond it. Skipping primer can leave a dull or shiny area called flashing, even when the paint color matches.
After the primer dries, apply matching paint. For the least visible result, use the same sheen and application method as the original finish. Touch-ups are easiest on newer, flat-finish walls. Older paint, higher sheens, strong colors, or walls exposed to sunlight may require repainting from corner to corner.
Common mistakes to avoid
- Covering damage before fixing an active leak
- Using one thick coat instead of several thin coats
- Sanding before compound is fully dry
- Failing to feather beyond the patch
- Painting bare compound without primer
- Assuming every wall texture can be duplicated with paint alone
Sources and further guidance
- U.S. EPA: Lead-Safe Renovations for DIYers — pre-1978 evaluation, containment, dust control, HEPA cleanup, and Lead-Safe Certified contractor guidance; reviewed August 3, 2026.
- U.S. EPA: Protect Your Family from Exposures to Asbestos — suspect-material identification, avoiding disturbance, and use of trained and accredited asbestos professionals; reviewed August 3, 2026.
- U.S. EPA: Does drywall or sheetrock contain asbestos? — explains that suspect material cannot be identified visually and recommends an accredited assessment firm before disturbing it; reviewed August 3, 2026.
- U.S. EPA: A Brief Guide to Mold, Moisture and Your Home — moisture-source correction and prompt drying guidance; reviewed August 3, 2026.
- USG Finishing and Decorating Gypsum Panels (J2010) — U.S. manufacturer guidance for smooth compound application, drying, sanding, surface inspection, and priming; reviewed August 14, 2026. Product-specific instructions control the selected repair materials.
When a wall repair is part of a larger update
After any moisture, mold, lead, asbestos, electrical, plumbing, or structural concern has been evaluated by an appropriately qualified professional, HHM can discuss the repair or remodeling scope.